 iMoneyCoach is getting ready to attend the Denver Home Show, and I am so excited to be a part of it! To get ready, I made some custom signs to make our booth beautiful and informative. Since this was for a home show, it was only fitting for the signs to be of a style you could find in a real home. I will walk you through the process here of making your own custom sign. It can be done for little cost (maybe even free depending on what you’ve got around the house!) and can match your own personal style.
Steps for creating a custom sign
here is a printable instruction page with the basics, but read on for the full scoop:
1. Decide where the sign is going to go and what it is going to say. This is important so that you can keep it in mind as you gather materials and actually create the sign. For example, if you are going to do a sign that says “Beach This Way” and hang it in your blue and white guest room, you wouldn’t want to get a guitar-shaped sign and put bold red lettering on it. When I started, I pictured a dark background with some light contrasting letters to catch people’s attention but also fit into a home show.
Knowing what you are going to say can also help you decide how big your sign should be. If you are putting a long quote on it, you may need more space. Or you might use smaller lettering and make a long sign across the wall.
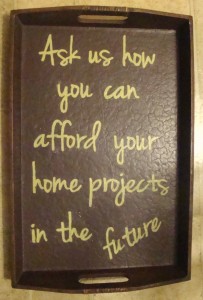
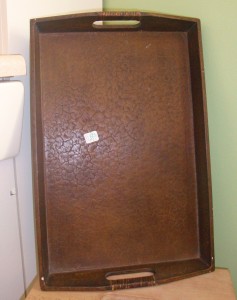
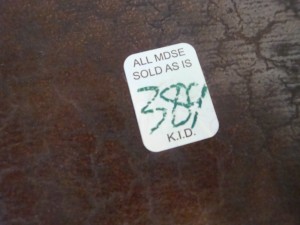
2. Pick your background. This is the fun part. For me, it started out a little boring. I pictured an old board for my background with a little decor set around to beautify it. Lucky for me, I only had 1 board in the garage and needed another idea for my second sign. My next thought was to use the back of a picture in a funky picture frame. Not wanting to spend a fortune since I was going to personalize it, I headed over to a new thrift store in my area. They had several pictures at a decent price, but nothing really jumped out at me. So I walked around to see if I could get some inspiration. Then I saw it. An old tray with handles that was already the right color and size. Anxiously I took a peek at the pricetag. $3.89. What a great deal! It was perfect! So I snatched it up and headed home to get started.
I’ve seen several ideas online for using wood pallets or small boards nailed together for signs. You could also use real old signs and paint over them. Or even do this directly on a wall or cupboard. I am currently entertaining the idea of painting some cute words or sayings on the cabinets in the kitchen or bathroom, or maybe the laundry room would be a good place to start.
3. Prep your item and gather materials. When I got home I pulled out the Windex and wiped up my tray to see what I needed to do to get it ready. It cleaned up so nice, and there were just a few nicks and scratches on it that would be no problem at all. The board from the garage just needed a good wipe-down with a wet rag to get off the excess dust.
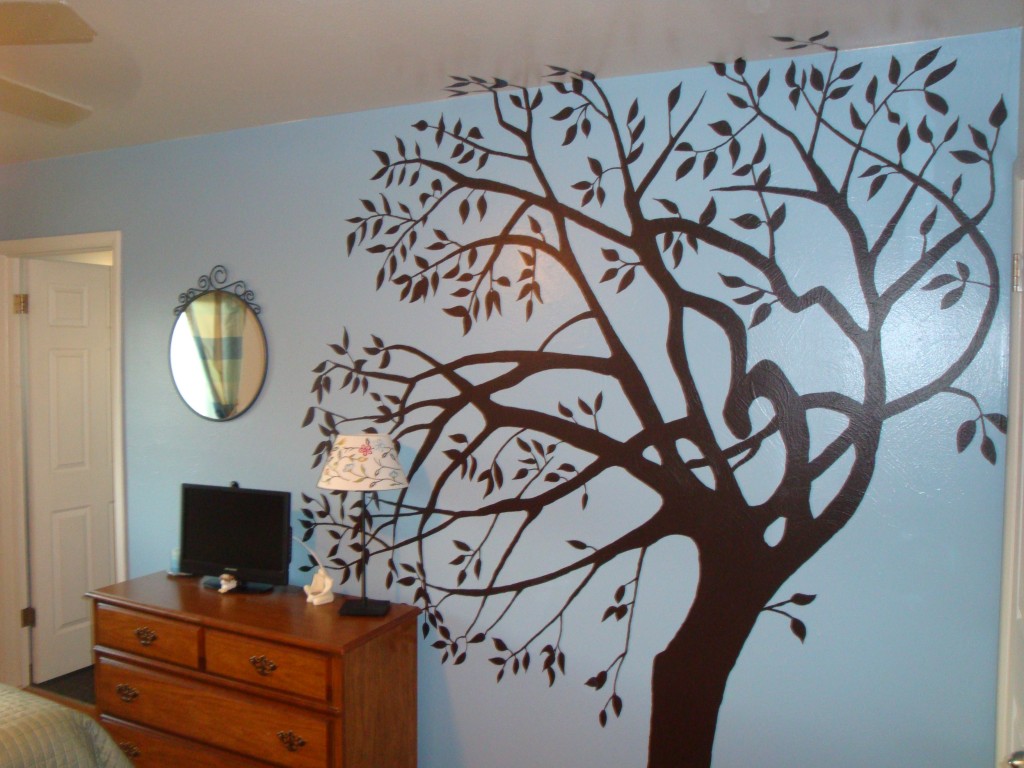
I pulled out an old can of dark brown paint I had used for this tree project in my bedroom a while back to get ready for the fun part.
Here are the materials I needed for the rest of the custom sign project:
- 1 can of paint
- 1 can of clear glaze (I didn’t end up using this, but it would be a good idea to seal your painting)
- 1 sample size paint or a small tube of acrylic paint
- paint brushes
- masking tape
- chalk
- newspaper (just to keep paint off the kitchen table)
- 1 metallic silver Sharpie (this is totally optional but a LOT of fun)
I painted the bottom of the tray and dotted over the little nicks. This took all of 5 minutes. I could have left it the way it was, but I wanted the bottom to be as smooth as possible for when I added the lettering later. I was tempted to go ahead and paint the whole tray simply because I was enjoying the painting part, but I made myself stop so I would not cover up the cool color of the outside edges.
I did do the edges on the board because it was unfinished. It was pretty dry (that tends to happen in Colorado), so it took a couple of coats until it looked the way I wanted it to.
4. Print your sign. There are some awesome fonts out there, and it is super easy to install them. I found a couple of new fonts I loved at dafont.com. All you do is click “download” on the font you like, then right click the zipped file it saves on your computer and select “extract.” Once the file is unzipped, you just right-click and select “Install” (this is on Windows 7, I’ve also done it on Vista). And voila! You can open up a Word document and type in the font you just found. There are tons of different styles on dafont.com. Since this was for a business sign, I wanted to be sure to comply with copyright and usage rules, so I actually did a search for a couple of free fonts that did not have any restrictions – many say “for personal use only” or “please donate for business use.” If I found a style I was going to use a lot or ongoing, I would be happy to make a donation, but this is for a 1-time sign.
Once I printed the signs at the size I thought I wanted, I had Debbie from our office take a look at a distance and make sure that they would be legible from a little ways off. If you’re by yourself, set up your page in a corner or use a magnet to stick it to the fridge then take a few steps back to make sure your printed font is the size you want.
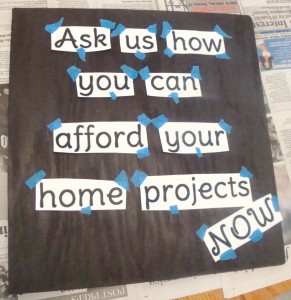
5. Stencil your words. I used a great idea from a blog that gives instructions for a DIY Inspirational Quote Sign (thanks Wilma!). Basically, here are the steps:
- You just print out your quote or words and cut them all out.
- Then grab a piece of chalk and color the backside of each of the words. I used chalk from my daughter’s easel, which was handy. I found a whole box at IKEA a while back and couldn’t believe the price – either chalk is really cheap or IKEA is a great place to buy it. I’m betting you could find some at the closest dollar store too. Anyways, I used green chalk since I was going to paint the letters green, just in case there was any residual chalk left afterwards.
- Next, turn the words over and use masking tape to hold them in place on your board.

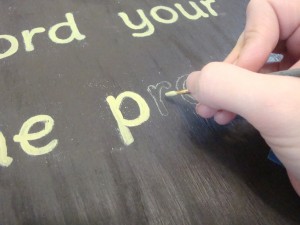
- Use a pencil to go over the outline of each word (just do a couple at a time so you don’t accidentally wipe off any of the other words when you are painting).
- Then paint in each letter. I had just received a coupon for a FREE sample of Valspar paint from a Facebook drawing they did, so I found a jar of a pretty green called Gold Infusion. Samples can be a good way to go if you want a custom color, and the Valspar samples near me run about $2.94 at Lowe’s. Of course, free is great. Keep an eye out for free paint samples for your project. The dark brown I used was actually a free quart of paint I got at ACE Hardware thanks to another online freebie.
6. Seal with glaze. This is an optional step. I didn’t do it myself this time, but I wanted to include it because it would be a good idea, especially if you are making a sign you are going to keep in your house or anywhere dust settles. If you like the matte finish of your paint that is completely OK, and you can leave it at step 5. But if you would like a glossy shine to your sign, then go ahead and add the gloss once your lettering is completely dry.
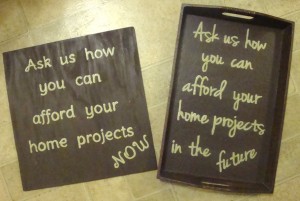
Ta-da! You now have a beautiful custom sign with your own quote and lettering that fits your style and space.

![[Valid RSS]](images/valid-rss-rogers.png "Validate my RSS feed")